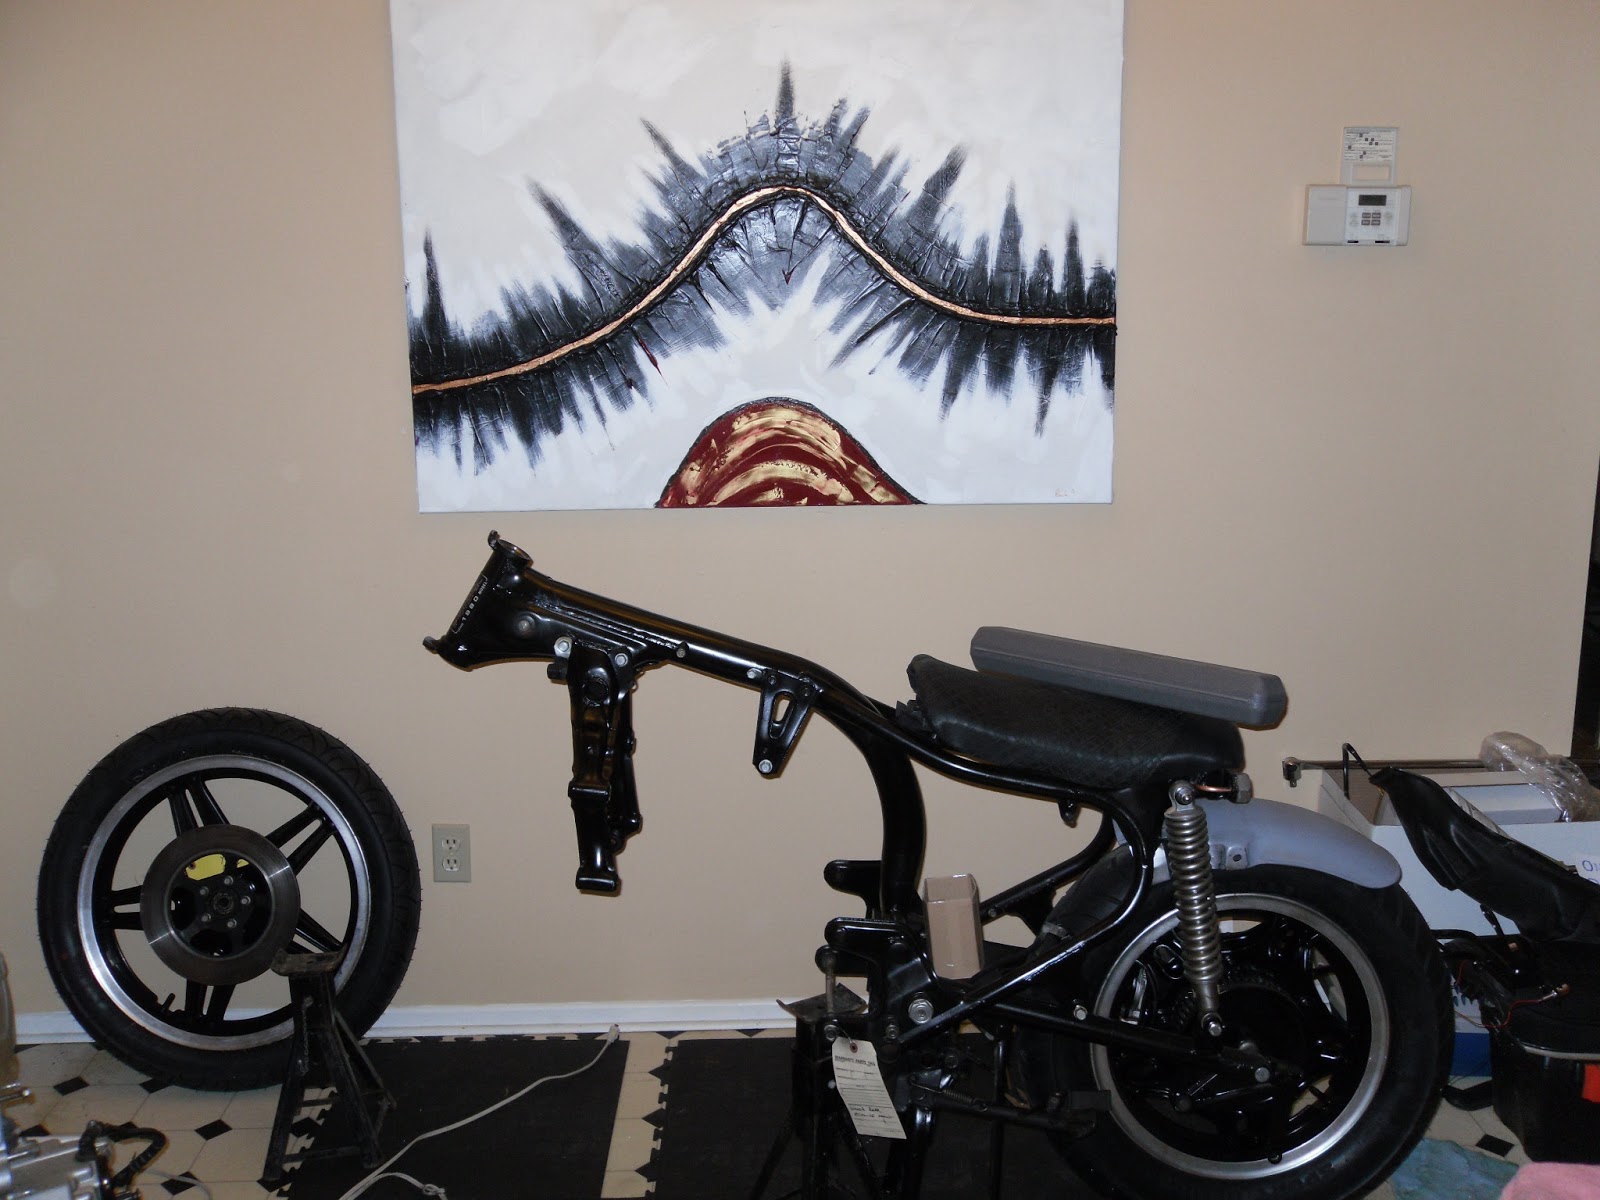
Custom motorcycle build,
We take you along as we turn a stock 1980 CX500 into a cafe racer. I'm now messing with a Goldwing
Sunday, 17 March 2013
I put the engine back in only to forget some parts, so it will have to come off again. Not a big deal, it's only 5 bolts.
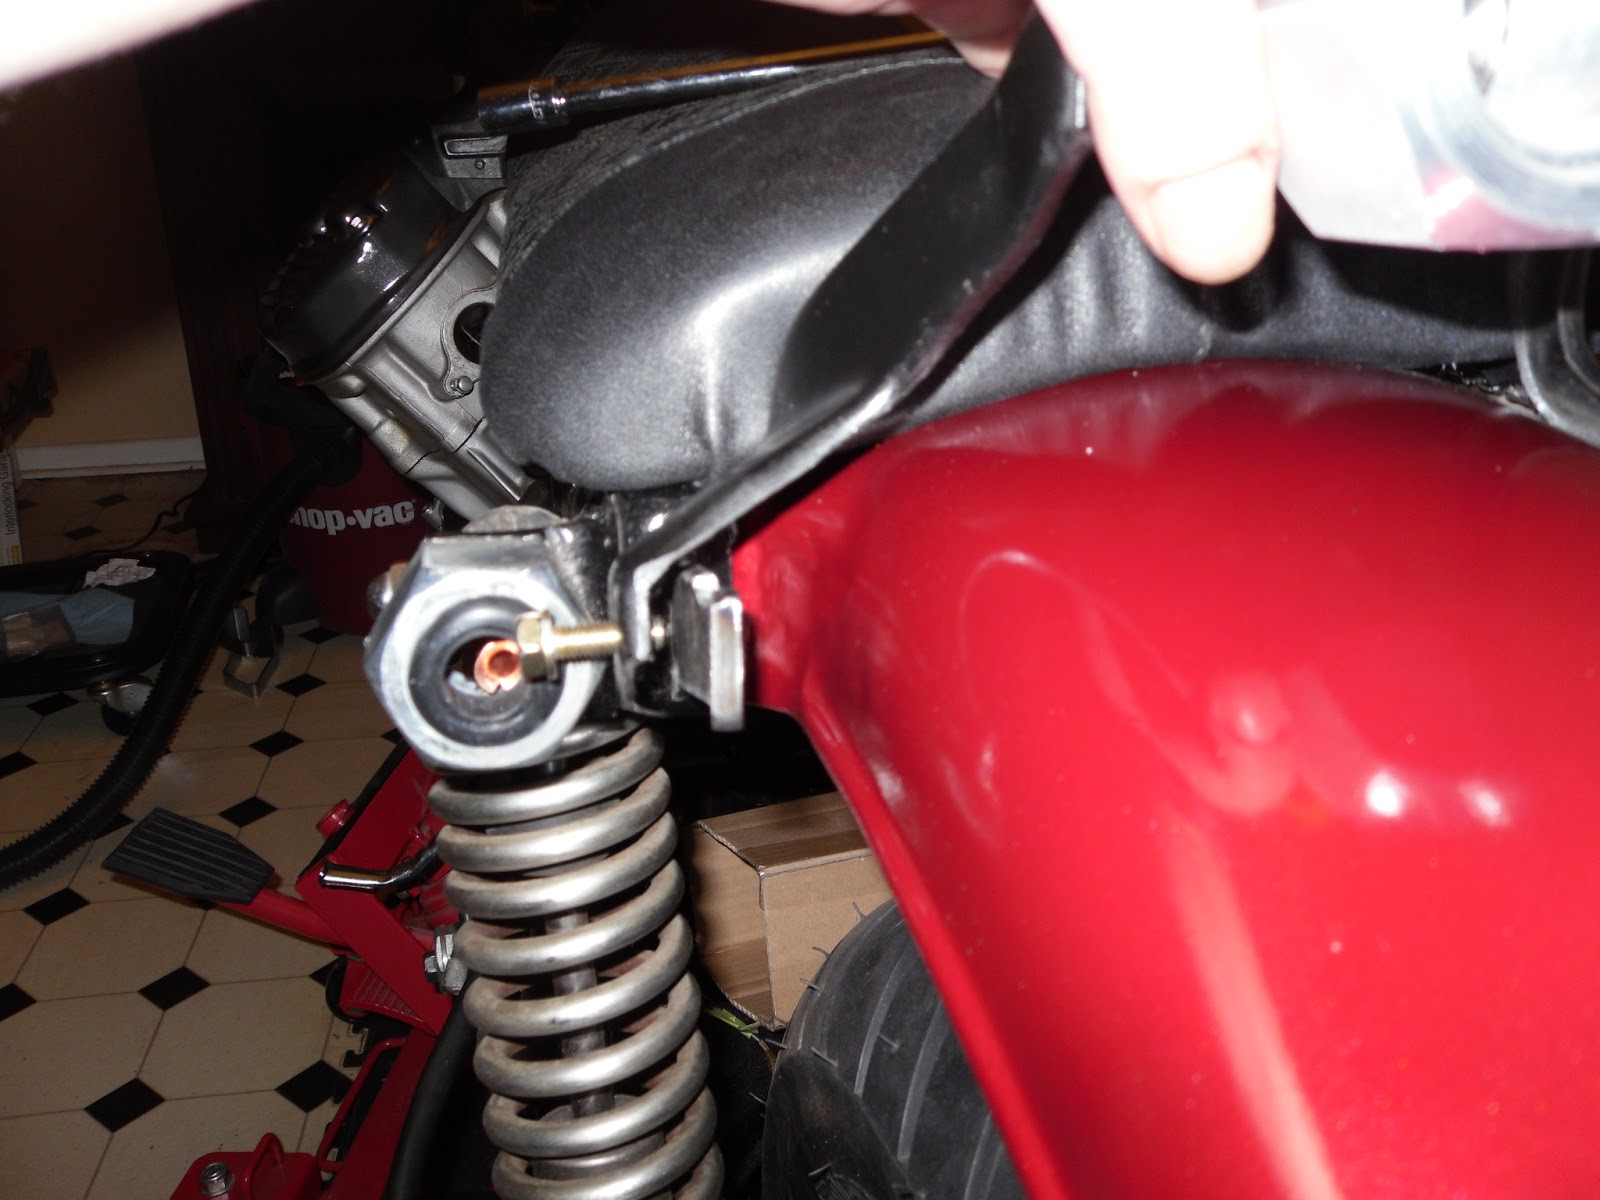
I'm having issues with my tail lamp. I had it figured out, so I thought, and test fitted everything with success. Now for some reason it doesn't fit that well. It isn't secure. It keeps flopping down onto the fender. I don't understand. I thought maybe I'd reversed the brackets but after taking it apart and switching them numerous times it just doesn't go.
Note in the picture above how much of a gap is between the two pieces.
I really like the look of it out there though, but at this time I'm debating just drilling into the fender. It would be much simpler.
As for the battery box, it's going under the bike where the H pipe used to be.
I have ammo cans I've used as hard cases on my cruiser. One of them will become my battery box.
It's the right size but it's too tall. A dozen Dremel cutting disks later and this is what I have.
Because I have no attention span I installed the headlamp bucket with the turn signals.
Squirrel!
Filter pods an a carb
Sunday, 10 March 2013
It's time to put stuff back on the engine.
This is my thermostat housing, a bit of a mess. I take it apart to clean it but one of the tubes is seized in there.
You can see in the top picture that corrosion has fused this together. I give it a shot of penetrant and give it time to work. No luck. I clean the stuff off with brake clean over my kitchen sink. Maybe some vice grips. I give it a good twist and almost pooped myself forcing so hard. Still no luck. Maybe some heat. Get my little torch out and give that a try. Remember the brake clean? Well I forgot. As soon as I get close to the housing with the torch everything catches fire. HOLY CRAP! I turn on the faucet and douse the flames. Jeez buddy, that was stupid. At least nothing got burnt.
Wait, what's that smell, aw man. I've burnt my eyelashes and some of my beard and mustache. At least I wont have to trim those for a little while.
Next day at work it takes Mr. G and I to get the pieces apart.
I prep the headlamp brackets for paint and give them a nice black coat.
Now I put the water pump back on with the proper gasket.
Next I take the valve covers off and prep them for paint. I'll go with a grey for them.
I don't know why but I really like the looks of the valves. I wish I could get those in lexan or something.
Now I put the thermostat housing back together and back on the engine.
I used all new o ring, I don't want to chase any leaks.
Next the painted valve covers go back on.
In go the forks.
Note I've lowered the front end by an inch or so.
Finally, I had the front wheel balanced but they told me it was too bent to safety. I'll have to address this somehow. I have another wheel buried in the snow on the other bike but I don't know what shape it's in. I could also send this one out to be fixed.
Anyhow here is what that wheel looks like turning.
It doesn't seem that bad but I imagine it gets nasty at speeds.
In the vain effort to get organized I've upgraded my work area. I've added a new tool kart so that I can keep my tools and my parts, well, apart. I also got a new work table for the basement, this will un-clutter my little work table.
Yes, that's a welding blanket. I like sparks but they don't go well with bare Styrofoam insulation.
I've scraped all the silicone off of the water pump cover. I'll replace that with the proper gasket. Amazing how much stuff was in there.
Next I start putting the head set back on. The grease makes it easier than I thought, it just holds the bearings in place like glue. Note that the same grease turns a little bearing into a projectile if you squeeze it too hard between your fingers. Luckily I had a couple spares.
Now I reassemble the thing.
I have two washers left over and I can't friggin' figure out where they go. I'll have to look at some diagrams and find out where they go.
Note I've also reinstalled the engine mount.
I take a fork tube to the new work bench and start taking it apart. They tell you to watch for the spring to push that top nut out and I'm a little cautious when I do so. Nevertheless KABLAMO, the thing shoots off. Not as violent as I thought but I still am covered in fork oil. I did have the presence of mind to aim the top nut into the catch bucket.
I take it apart and lay it out clearly on the table. I remove the old seal and inspect the forks. They look good.
I want the fork tubes black so I clean, sand, and paint it.
I need some thread locker before I put it together so I leave it for now. I hope I remember how it goes back together.
Sunday, 17 February 2013
I got the tires back from balancing. Unfortunately the front wheel is bent enough that it wouldn't pass a safety. I have another one on the bike under the mound of snow in my back yard. Hopefully it's straight. If not I can always get this one straightened.
The back one being fine, I started putting stuff back on the bike.
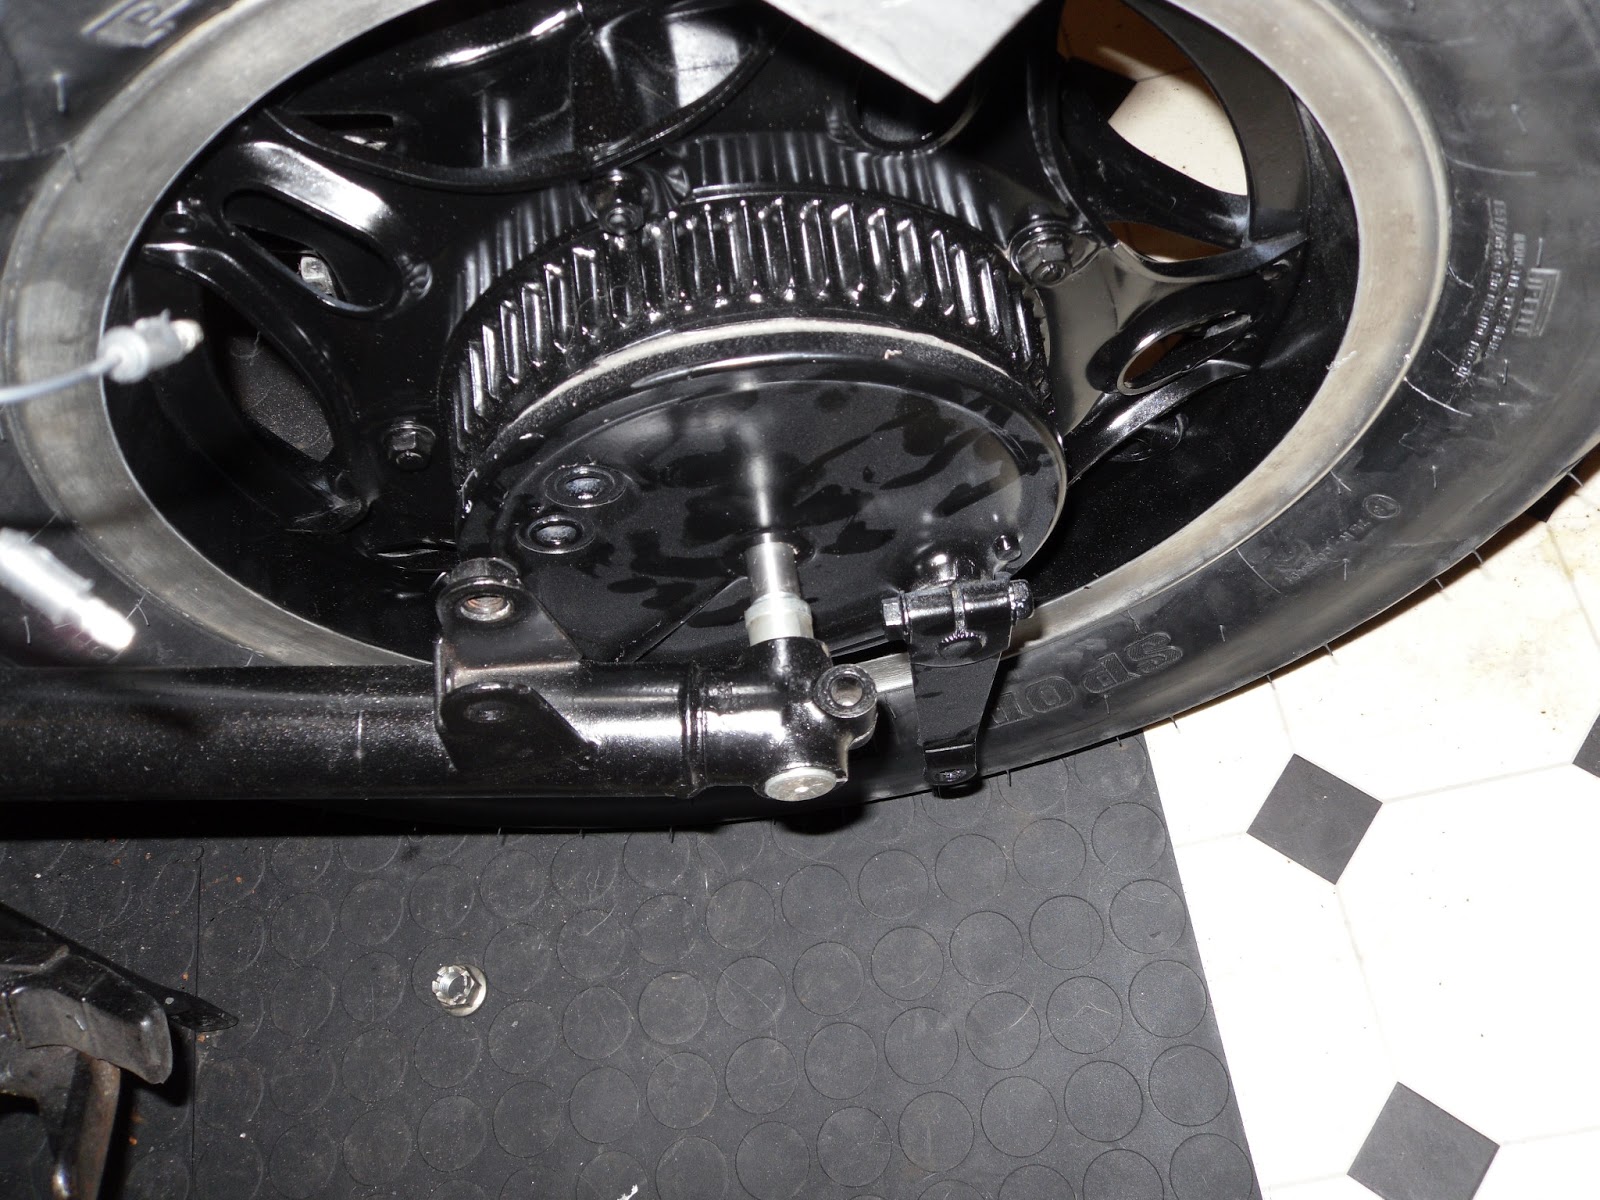
First the diff, the rear brake then the rear wheel.
I wish I had labeled things much better. I thought I did a good job but I must have been kidding myself. Here I put the front axle in the rear.
I searched for half a day before I found the one labelled "rear axle" I wrongly assumed that if I label the rear one then the front one would be self evident, nope.
Next I drilled holes for the signal's wiring to go through.
Bend a little copper tubing and that should hide the wires nicely.
One little problem though. The signals are already wired with the proper connectors, unfortunately they won't fit through the tubes so I'll have to cut then re solder them.
I then reinstall the shocks to make sure nothing is in something else s way.
This I managed not to screw up.
Next I test fit the seat.
Two things that go without a hitch, lets go for three.
I go to set the fender in and we have a problem. Now that everything is there I have some clearance issue. I can't get the fender in between the frame rails, not by much but just enough. Out comes the Dremel and with a few strategically placed cuts we are back in business.
Here is the fender mounted with all the other stuff.
That plate bracket is a little off, easy fix.
Sunday, 10 February 2013
The rear turn signals are done. Here they are.
You'll also notice I've started working on the brackets for the stop lamp. They look simple but they will need a bit of work to get them to sit evenly.
I've fixed the crash bar that was ground when the bike was crashed.
From this....
to this...
Here is the leather jacket I got at Value Village, our local thrift shop.
The original vinyl kept the memorie of the original seat so it had bumps and stuff that I couldn't work around.
Mr. T would have had me powder coat it but for my first build I didn't want to deal with the trouble that presented. I would have had to remove the trailing arm, chased the threads and who knows what else a thick coat of plastic would have meant. He was right mind you but for now I want to keep it as simple as possible.
I've also painted the rear brake assembly and the diff.
Some of the gaskets I got From Toby are going on. It will be nice to finish playing with the engine.
Hmmm, I thought I cleaned that engine. Gotta do it again I guess.
I played with the seat a little. I'm going to rivet the cover on. Like so...
Mr. G was over to help me figure out some things. A fresh perspective helps.
He found this little miracle thing, I'll call it the gobbler, it chews off whatever you put in it's way. I thought it was for wood and soft stuff but no, it likes to eat metal. Say hello to my new little friend.
He also didn't think that my original idea to mount the tail lamp was good. I was going to use this thing.
That would have meant drilling holes in a fender I was going to paint. Also, it's flat bottom was going to present problems when it comes to making it mount and look good very difficult.
He took a license plate bracket for the plastic fender and held it up where he thought it looked good. A little more finagling and this is what we came up with.
Flipin' brilliant. Now I just have to make brackets for it out of these.