Wednesday 26 December 2012

Turrn signals

I made progress on the rear turn signals.  My hands are numb from all the grinding.  Thank you spell check 'cause I'm making a mess typing with numb fingers.

These will keep the nut  theme I have going back there.  Once done the will be welded to the end of the frame.


Sunday 23 December 2012

More seat shenanigans

The center stand is a mess.  I'll sand blast it and make it nice.  Off it comes


My rear signal LED's are in.   They are truck clearance lamps.  I intend to put them in some big nuts I found at work.  They will match the tail lamp perfectly.

That blue thing is supposed to make my LED's flash OK,  I have no efing clue where or how to use it but apparently I need it.  I think Mr Double J will know.

I think I have to do something with the seat before I go anywhere else.  The seat will show me how much room I have underneath for the electronics box and if I can get the battery to fit up there.

I really want to use the stock latching system somehow. 

I think I cut away as much of the seat pan as I dare,  it's about the size I want.  I'll hold the cover on with rivets so I have to make holes.


Now for the latching system.  The captive nuts used for the latches will be used to hold my fender...


 so I need 2 more captive nuts under there. Down in the basement goes the frame.  I pop it on the bench and weld on a couple of nuts and spring posts.


A quick shot of primer and the latches go on.


Not bad, now I only have to make the pieces that the latches grab onto and I'm laughing.


Sunday 16 December 2012

I finally almost, just about finished the plate bracket.  It's now reinforced with some cross members and I've put on some nuts to hold the copper or steel tubes that will hold the wiring for the tag lights. 


And here's what it looks like on the bike.


It's primed and ready for paint, don't know what colour. 

I removed the wheel and final drive again and gave the frame and diff a good cleaning.  I was hoping the frame was not going to need paint but with all the little nicks and stuff on it I'm going to have to give it a coat of something.

Note that the center stand is down, not on purpose.  The darn thing folded on me and almost got my fingers. 

Anyhow, this is as naket as it gets. 


Maybe not,  I should do something about that nasty looking stand.

Sunday 9 December 2012

License plate bracket

You probably had no idea what I kept talking about with this license plate bracket.   In the words of one of my highly respected colleges  KABLAMO!!

 Well here it is, not quite finished but along enough for you to get the idea.


Shorten it, clean it, paint it run some wires for tag lights and put a bracket on.  KABLAMO!!


More parts come off

Mr. G came over today to help.   We striped off more parts off of the frame.   The rear brake linkage came off after taking a reference photo, who knows if I'll remember hoe it goes in. 


Before we took off the front end we discussed some possibilities for the handle bars.   I don't want clubmans,  I think they'll make the bike to uncomfortable so I'll use the shorter ones off of the Custom.

These are a few positions. 


Time to remove the wheel and shocks.   I read somewhere that If you crack the top shock nut while it's still in the triple tree this will make taking them apart later easier.   So with that done Mr. G and I slide them out.   Easy with two people,  I probably would have been cursing if I tried that on my own. 


We found the the head set had what Mr. G called memory steering, in other words when you move it back and forth you can feel some ratcheting feeling.   We might as well open it up and see wht's up with that. 


The races look fine but I might as well replace the whole thing, something is not good.

 Now for the plate bracket.  I welded another washer to a flat bar and tacked it all in place.  The lines indicate where some bending will happen. 


Now I just have to add reenforcing trellis and some bends.

Sunday 2 December 2012

Cleaning and license bracket

I might as well get to the engine.  I don't have much to do on it really.  I just have to get it looking good.  it's a little grimy so it needs some cleaning.


I took the stator cover off, it had quite a bit of corrosion so I'll give it a sanding and refinish it.


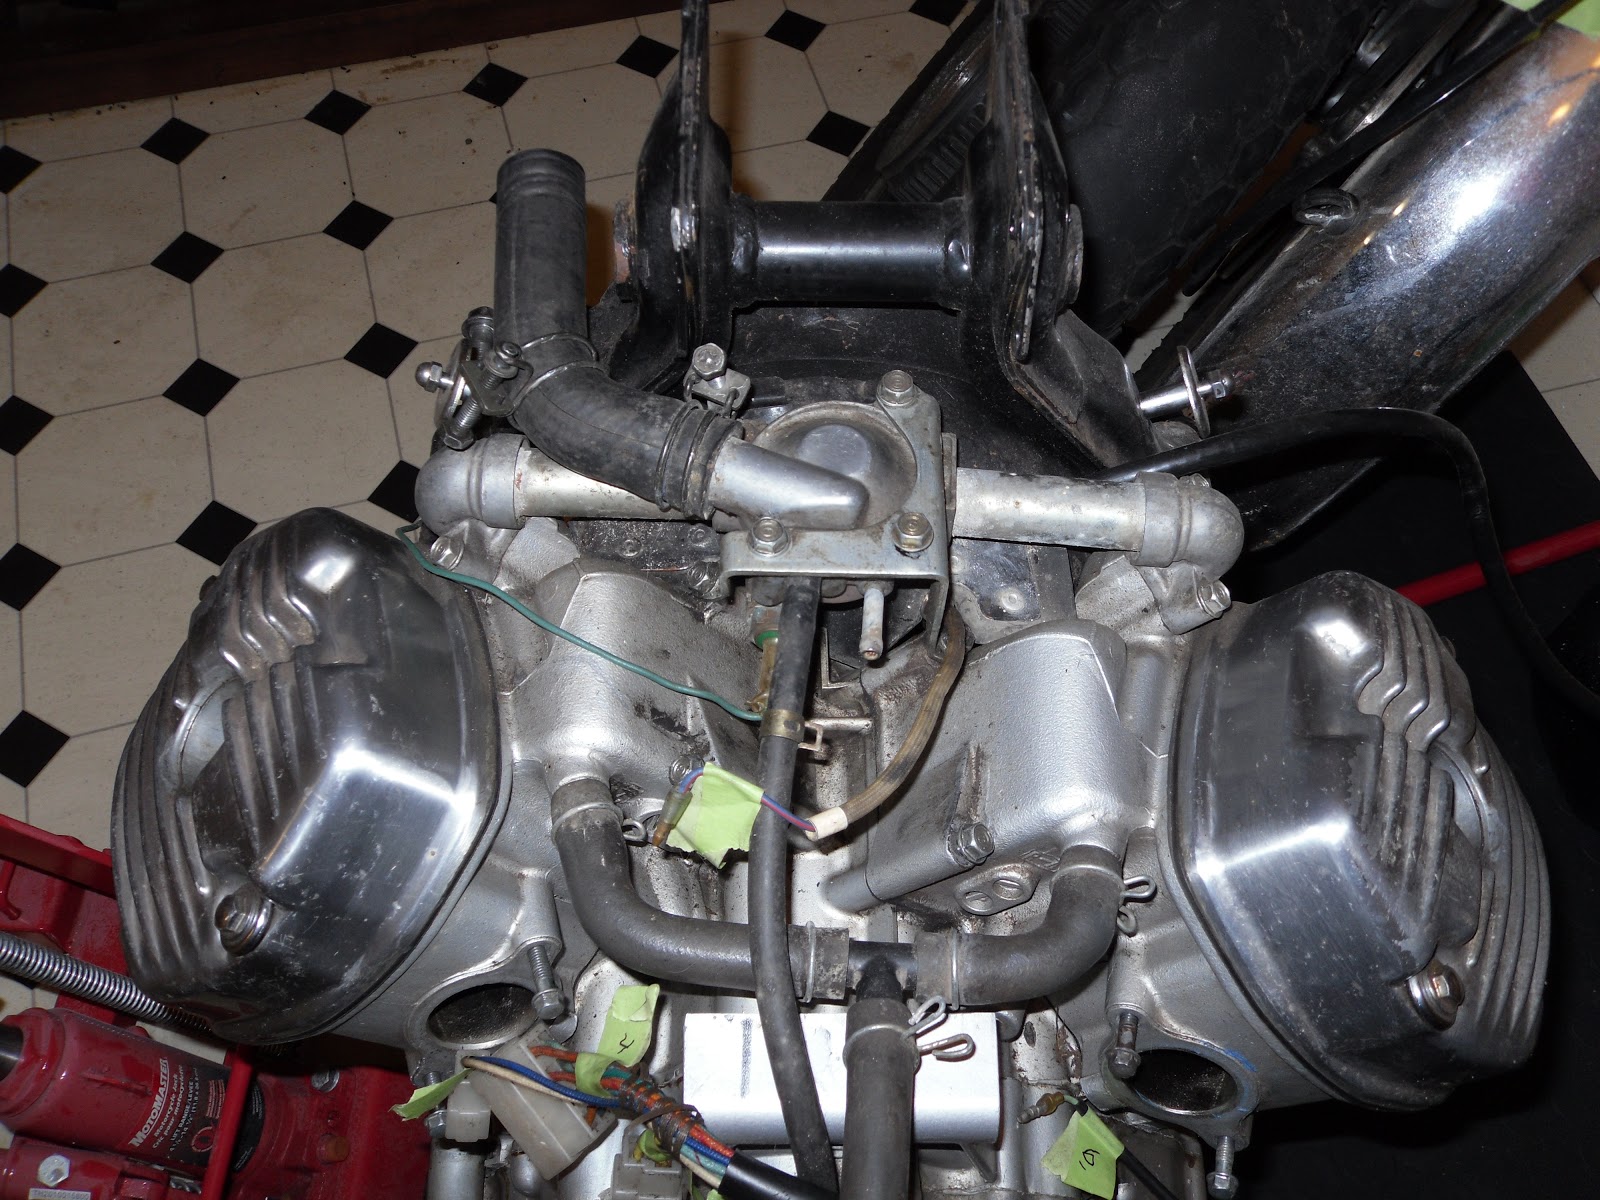
Next I removed some of the piping and water pump cover,  Mr. Double J is probably cringing at this but I promise this is as far as I go, OK maybe the valve covers but no farther. 


Yummy, now I gave a craving for lime Jello.  The stuff is in all the small passages so I'll have to figure out how to clean those. 

This is what I took off, not much really, just enough to get at the dirt.


Now lets clean this sucker up. This is the before.


Add a little of pre-tune and let it sit a little.  Once the pre-tune has time to work it's just a mater of wiping the grime off.   It comes easily, that's a pretty engine.   Wipe and wipe, I love this engine, it's so cool, hey I wonder where my Pink Floyd CDs are, that would be so dope right now, what was I doing...

Remember that when using harsh chemicals to ventilate the room well.   A little time outside in the freezing rain and fresh air sets me right again.   I open windows at both end fo the house to get a nice breeze going.

 I used needle nose pliers with a shop towel on the end to get at the nooks and with a little time I'm left with a nice clean engine.


Now for the plate bracket.  After last times fiasco I just wanted to deal with one of the mounting points at one time.  I have some flat bat that I hope will give me some sort of a solid backbone for the bracket.  I cut a notch in it so that it takes the washer that will fit on the axle snugly. 


Next I weld that sucker in.


Jeez, that's not bad.  It actually looks like a weld and not like bubble gum.  I'll clean that up a little later.

Here's a look at where it will sit, the idea is to have the plate floating behind the rear wheel.