I'm at the point where a lot of things have to get painted. I've painted the handlebars, the battery box, the fuse cover, the crash bars, and the tail lamp bracket.
Here is the finished battery box.
Instead of watching those dry I installed the gauges...
and the keeper of the magic smoke.
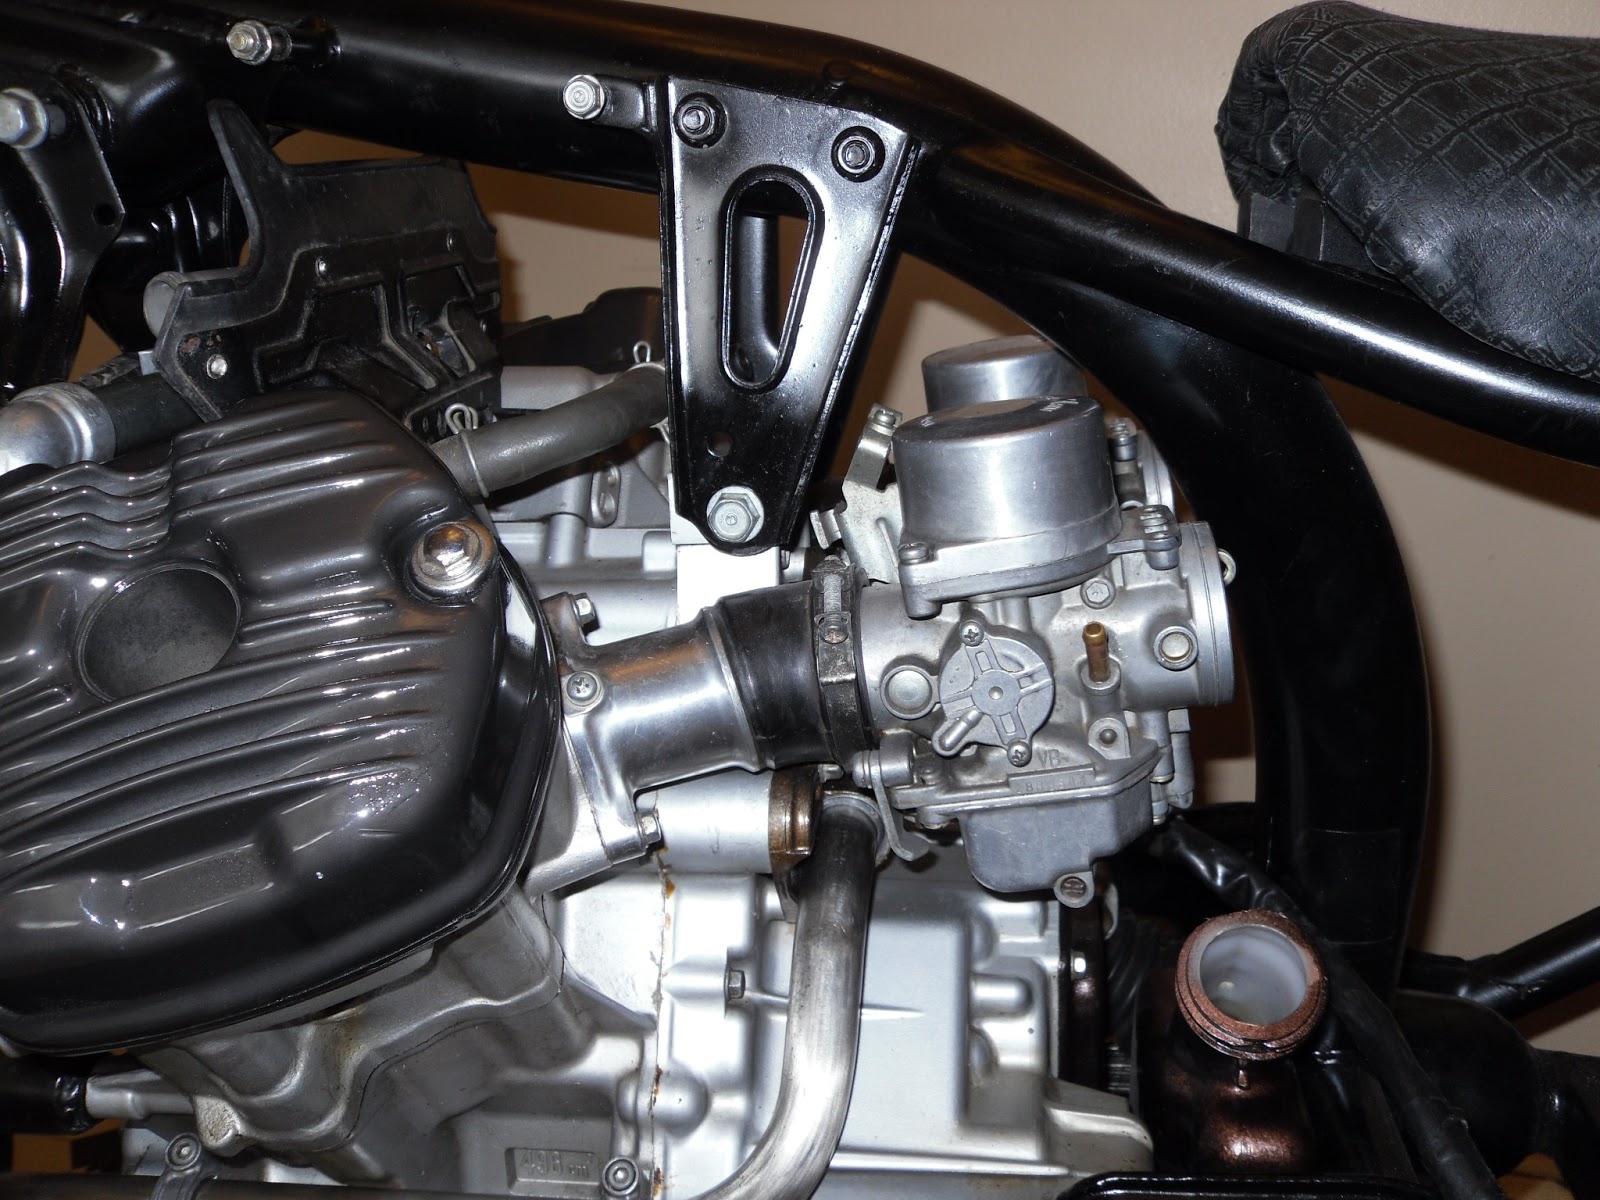
The engine had to come out, AGAIN, to get the carbs on. Now put the engine back in, probably not for the last time.
Flip the painted parts over and paint the under bits.
While that is drying I clean the radiator grille.
You can see the difference. The bottom is clean and the top is not.
Painting the tins on the motorcycle is turning out to be a little harder than I thought. I've painted my other bike every year with great success. I don't clean my bikes I just repaint them. But this time it seems harder than I'm used to. Maybe it's just that I'm trying something different.
Anyhow, this is what I have so far. Primer, a coat of red, a stripe, and some lace. Not bad but we'll see once the clear is on.
I've spent an inordinate amount of time making this battery box. I'm not sure why.
I realized the ammo can was a bit too long so I had to take some out.
Whack it with a hammer a couple times and voila.
Tack weld the sides and she's good. The metal is so thin I can only tack it, but that's fine.
Next I go to work making the brackets. A bolt and a couple of nuts make a perfect jig.
So far this is the only thing I've figured out on my own that wasn't over thought. Weld it to a plate and I have a bracket.
Cut some slits in the side of the box and tack the sucker in.
You can see I had to reenforce the side of the box otherwise I'd have blown through with the welder.
I the repeat the process for the other two tabs on the other side.
Pop that sucker under the motorcycle and bolt it in. Fits nicely. A little black paint and it will be less noticeable.
Sounds simple but it took me a whole weekend, on and off, to make this thing.
I also cleaned some of the gummed gas off the starter.
Plenty of ventilation and no source of ignition and all went well with this too.
Here is the other ammo can, I used it as a test surface for my custom paint job. Using lace that Mr. G found for me I gave it a go to see what it would look like.
I like it!
Sunday, 17 March 2013
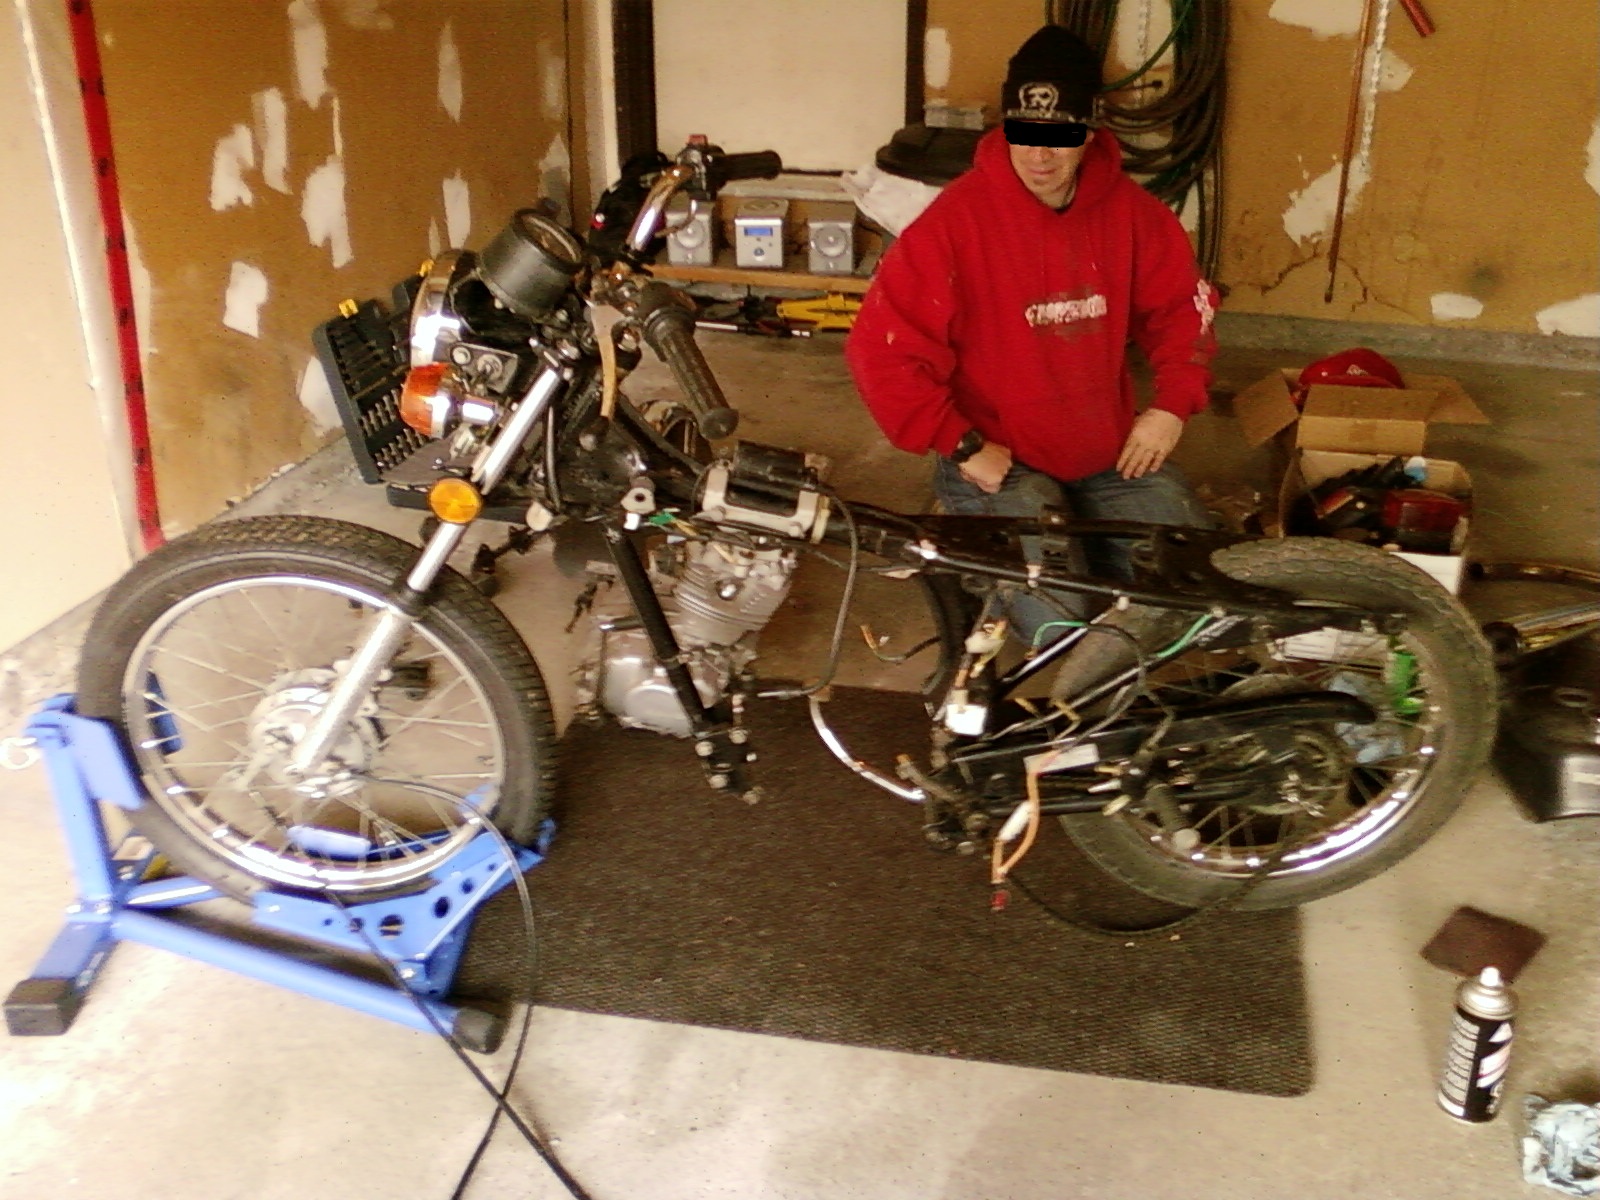
I put the engine back in only to forget some parts, so it will have to come off again. Not a big deal, it's only 5 bolts.
I'm having issues with my tail lamp. I had it figured out, so I thought, and test fitted everything with success. Now for some reason it doesn't fit that well. It isn't secure. It keeps flopping down onto the fender. I don't understand. I thought maybe I'd reversed the brackets but after taking it apart and switching them numerous times it just doesn't go.
Note in the picture above how much of a gap is between the two pieces.
I really like the look of it out there though, but at this time I'm debating just drilling into the fender. It would be much simpler.
As for the battery box, it's going under the bike where the H pipe used to be.
I have ammo cans I've used as hard cases on my cruiser. One of them will become my battery box.
It's the right size but it's too tall. A dozen Dremel cutting disks later and this is what I have.
Because I have no attention span I installed the headlamp bucket with the turn signals.
Squirrel!
Filter pods an a carb
Sunday, 10 March 2013
It's time to put stuff back on the engine.
This is my thermostat housing, a bit of a mess. I take it apart to clean it but one of the tubes is seized in there.
You can see in the top picture that corrosion has fused this together. I give it a shot of penetrant and give it time to work. No luck. I clean the stuff off with brake clean over my kitchen sink. Maybe some vice grips. I give it a good twist and almost pooped myself forcing so hard. Still no luck. Maybe some heat. Get my little torch out and give that a try. Remember the brake clean? Well I forgot. As soon as I get close to the housing with the torch everything catches fire. HOLY CRAP! I turn on the faucet and douse the flames. Jeez buddy, that was stupid. At least nothing got burnt.
Wait, what's that smell, aw man. I've burnt my eyelashes and some of my beard and mustache. At least I wont have to trim those for a little while.
Next day at work it takes Mr. G and I to get the pieces apart.
I prep the headlamp brackets for paint and give them a nice black coat.
Now I put the water pump back on with the proper gasket.
Next I take the valve covers off and prep them for paint. I'll go with a grey for them.
I don't know why but I really like the looks of the valves. I wish I could get those in lexan or something.
Now I put the thermostat housing back together and back on the engine.
I used all new o ring, I don't want to chase any leaks.
Next the painted valve covers go back on.
In go the forks.
Note I've lowered the front end by an inch or so.
Finally, I had the front wheel balanced but they told me it was too bent to safety. I'll have to address this somehow. I have another wheel buried in the snow on the other bike but I don't know what shape it's in. I could also send this one out to be fixed.
Anyhow here is what that wheel looks like turning.
It doesn't seem that bad but I imagine it gets nasty at speeds.